Monday, June 10, 2013

Joey & Rory Concert via Kraft Food Truck

- - -
Today, I was working with Kraft Food Truck.  They sent me to see the country duo Joey + Rory at the Wal-Mart Shareholders event.  I had never heard of them before this shop, but I am now in love.  They had written a lot of songs I'd heard before by other artists like, "Some Beach" by Blake Shelton, "The Truth about Men" by Tracy Byrd & "A Little More Country Than That" by Easton Corbin.

I just loved them!  They are so talented, but also so down to earth.


I seriously have one of the most fun jobs ever.  I got paid to go see this free concert & eat a ton of yummy food.  I am so thankful to be able to have a way to contribute to our family's income, yet stay at home with my kids!  I love it!

The concert was held at a Wal-Mart Shareholders Event where there were MANY booths serving foods & giving away samples from their brands.  It was really fun.

This was Kraft's presence there:  The Kraft Food Truck.


They had some great food to try.

Friends, this is a Mac & Cheese sandwich.  Crazy.  It was pretty good!


The also had Bacon Dogs.  Like a regular hot dog, but with bacon in it.  That's why this guy is smiling:


This is the bacon dog.  They covered it in Queso Blanco.  


It's one of their new Velveeta Toppers:


Ok.  It was pretty good.


You can find some more pretty cool recipes on Kraft's website.

While I was off stuffing my face, Joey & Rory were signing autographs & taking pictures with people.  I got a couple for myself & a friend who is a huge fan of theirs.


I was hanging out with fellow blogger Sarah White author of Our Daily Craft & their daughter Heidi:


Heidi also sings.  You can check her out here.  

After we had happily gorged ourselves at the Kraft food truck, we made our way around to the various other booths there.  Part of the booth activity for the Dr Pepper group was a photo booth, so you know we had to sit for a photo:


Boy did we end up with a lot of loot from all the different companies!  Super fun day.


Kraft on Facebook.
Kraft on Twitter.

Friday, June 7, 2013

Reclaiming Our Spaces: Bathroom! BELATED


Ok, it's that time again to gather up the gusto to conquer another clutter corner!  I will say that I have to FIGHT to maintain my previously organized areas.  I will keep fighting for them though because they bring so much peace & joy!

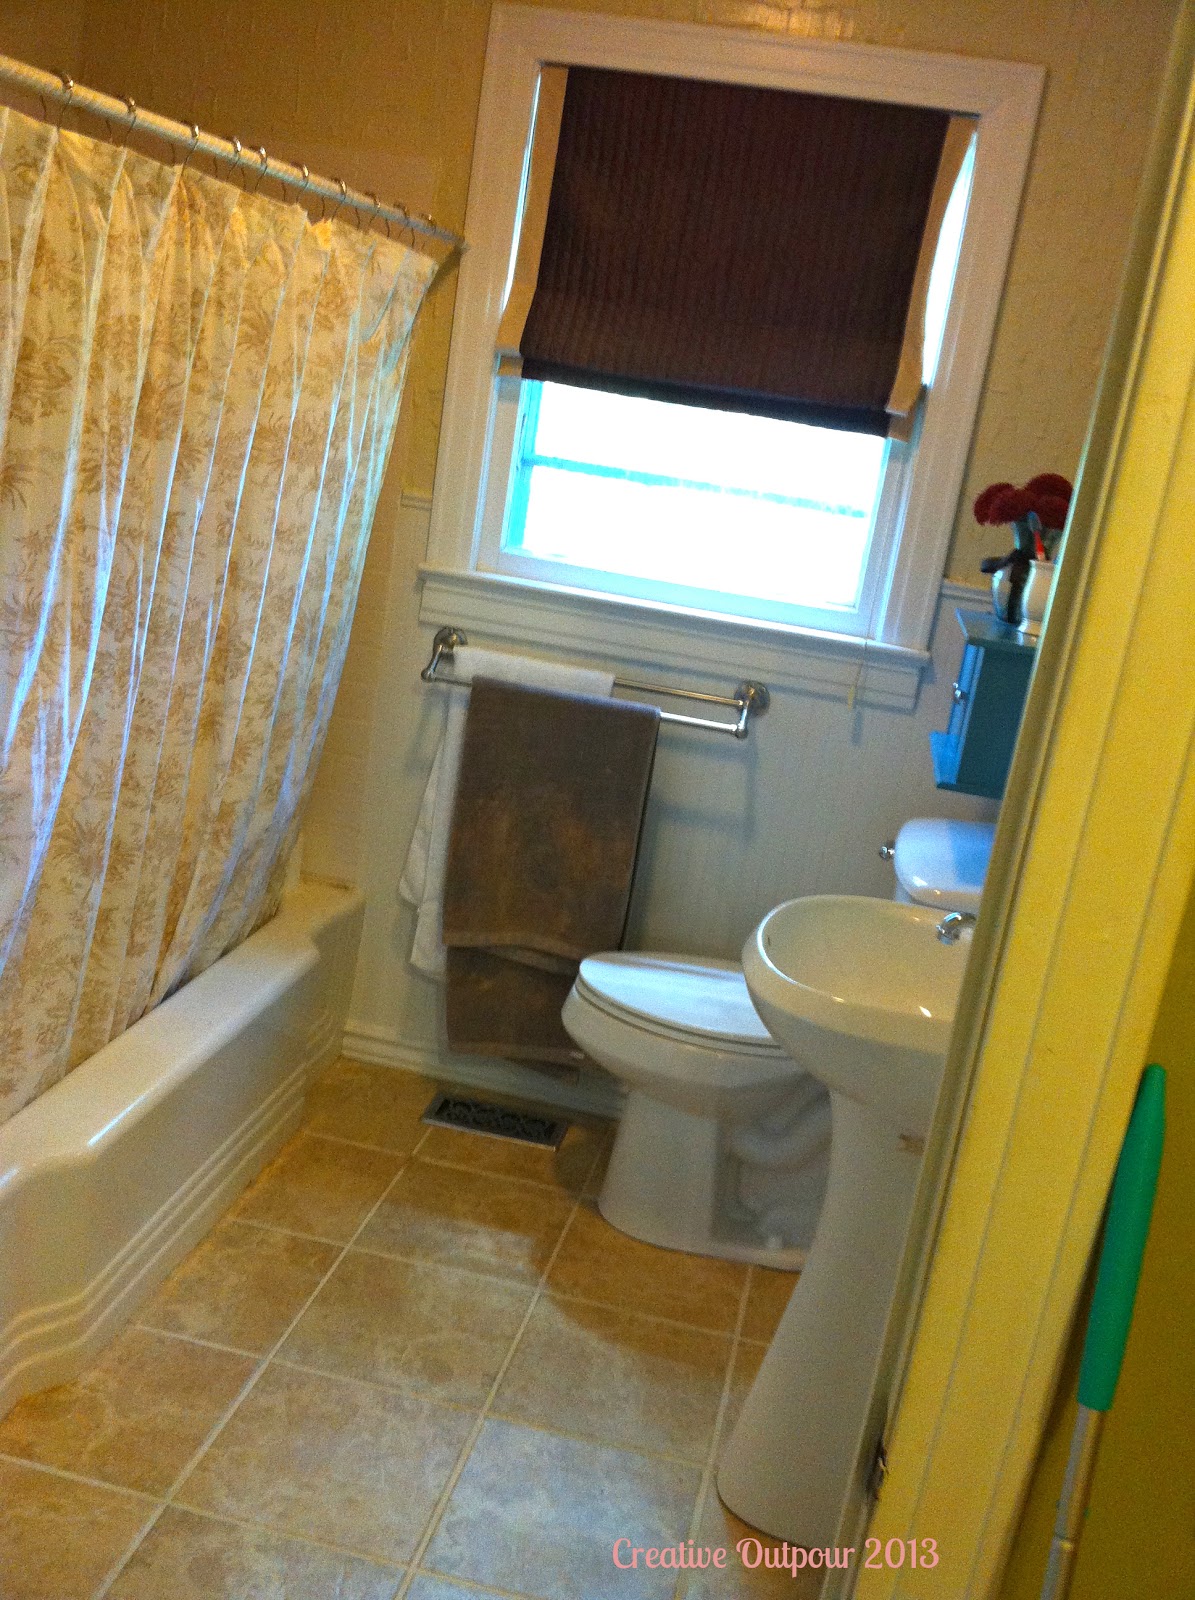
So, today is my bathroom.  So easy for me to trash this room (with the help of the 3 other people in my house).  You would think that the master bath would be easier to maintain, since the kids have their own bathroom, but no.  I think it's worse now than when we had one tiny bathroom for our whole house:


Here's what it gets like now in my much more ample bathroom space:


I think our biggest problem is that we are not using our good storage.  We leave everything out on the counter!


Toys left in the tub from the kiddos, clothes left out, typical junk drawer & everything shoved in the bottom of the bathroom closet.  It's so crazy, but I know some of you can totally relate!


Under the cabinet.

I have lots of organizing tools!  I just need time & a plan to get it together, ya know what I mean?  This series is my accountability to get it done finally.  

I have to tell you that this project was quite the undertaking!  As much as I wanted to have it ready on Thursday right on time---THERE WAS NO WAY.  I would also love to tell you this project is completely finished, but I do still have a pile to sort through.  Real life folks!

It is already soooo much better though...


Didn't really have to do much to my husband's side, but straighten it up & get his items off the counter.


I basically chucked 1/2 of what I had under my sink.  A bunch of junk!  This is what was left.


This is now the inside of my drawers.


And the closet is so much prettier!!!


These cute black & white bins are from clever holly.com!!

It's so nice to have order & a place for everything.  Makes me want to be in there more often.  Kinda weird to say that about your bathroom.  ha!

I dig it!  Hopefully it inspires you to take something on at your house too.

Here's some more organizing inspiration via Holly.  This week she took on her garage.  Yay Holly!!!

Tuesday, June 4, 2013

I Love Making Dresses.

So, I was on Zulily the other day and the brand Caught Ya Lookin' was being featured.  They had the following super cute dresses:


I almost bought one, but then I decided I wanted to attempt to make one.  We had a little girl's birthday party to go to, so it was the perfect time to try it.  Here's how it turned out:


I probably should've put together a real tutorial for this, but I think I can talk you through it because it's super easy.  Really it is.

You need:
-1 yard of fabric that you like
-Enough ribbon to make shoulder ties  (To make sure you're covered, have 2 1/2 yards)
-Some elastic band-not too firm, so it's comfy.  Measure your cutie, so it fits under her arms across the chest.
-Some notions to jazz it up a bit (trim, buttons, etc)

1)  I turned the fabric inside out, folded my fabric in half & hemmed down the one side (of course this only works with single width fabric)  Also, do pin it & use your little model to see if it'll work.  Remember that it will be gathered at the top because of the elastic, so it could be pretty wide.

2)  You have to make a big cuff at the top, double roll it under (to prevent fraying) & hem it.

3)  Measure for the height of your elastic band & then stitch for that.  You are creating a pocket for it to go into.

4)  Now, make an up & down slit to put your elastic in.

5)  Before you insert your elastic, pin a safety pin on the end of each side of the elastic band, so you can thread it through easily.

6)  Sew the two ends of the elastic together & then sew the opening closed.

7)  Now measure put the dress on your child.  Tie a generous tie in your ribbon & make sure there is enough to have that tie plus be sewn into your gown before you cut anything!  Whatever the length, cut 2.

8)  Sew ribbon right into the inside of the dress where the elastic is.  Mine are at an angle like mean eye brows:
You could just do them traditional style thought, if you like that better.  Just measure in the same amount on both sides, so they're even.


9)  Lastly,  I hemmed the bottom of the dress & sewed trim right over my hemline to hide my less than perfect line.  Ha!  I love to hide my flaws!  Can you relate?  Betcha can.

10)  I sewed a few buttons on the top, but you could add a bow there.  If I'm guessing right (by the picture above), I think they actually threaded the ribbon through the front of the dress & tied it to get that look, but I didn't have enough ribbon to achieve that, so I went another way.

 If you have any questions, just email me & I'll try to help you if I can.

Happy sewing!